My Tech Home sometimes uses Affiliate Links where the blog author sometimes receives a commission.
Essential Networking and Optional Internet Access
Really Important Disclaimer: I installed this build into a home that did not have any Internet. Yes, Sky do still upgrade people to Sky Q who do not have any Internet.
Where I do not know how long this will be in use for, I did not want to contact either BT or Sky in order to install landline broadband. There is no logic in my mind to committing to a 12 month contract for something that might not be needed in 3 or 6 months. This is why I invested in a cheap mobile solution, but this will also work with your residential home Internet like Sky Broadband or other.
You do not actually need to give your Home Assistant to the Internet if you intend to run a wholly local system. I had to take this step so that I could remotely access the system from home to monitor the system and update it. I also have plans in mind to expand the system to include tailored “programme guides” based on the end users needs. Since moving to a 24 hour a day care package, we were also required to install CCTV cameras for both carer and patient safety – I recommend Reolink if you need to do that too.
A Good 4G Router with remote support
 Buy Now →
 Any Sim will do, but I do 3
 Buy Now →
 I was actually quite lucky I think, because when the Three pre-paid data SIM was delivered it had a 24GB allowance and that does not expire for 12 months. Why did I use a pre-paid SIM? My overhead needs are intended to be low, I only remote into the system once or twice a week, and my use case does not include watching streaming services, or voice controls.
The Accessories
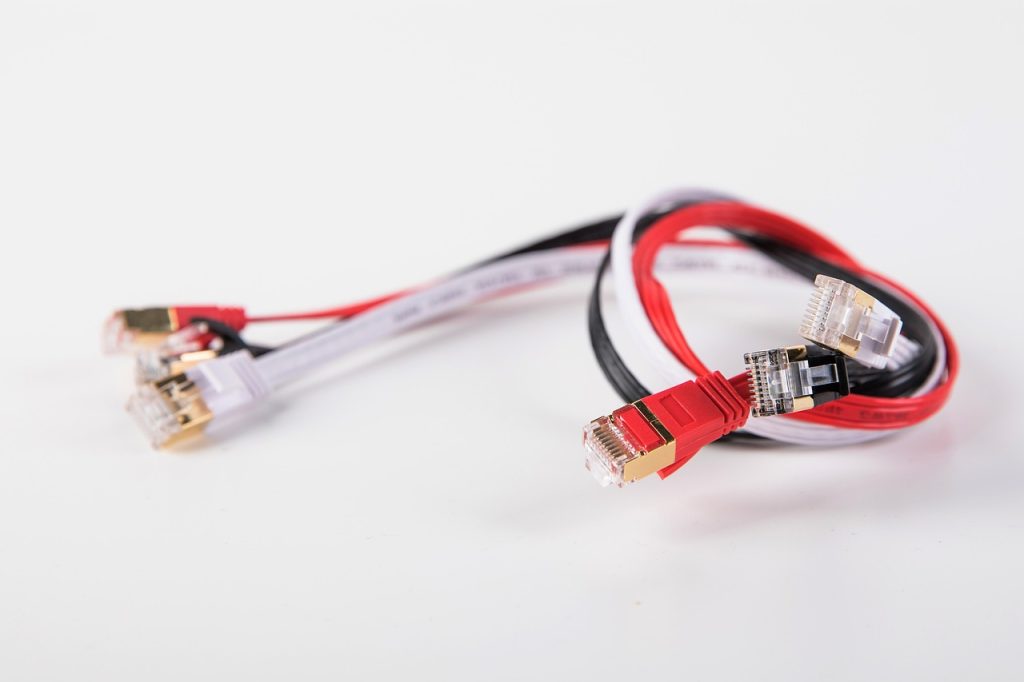
Depending on how you would manage your Sky Q system depends on what accessories you are going to need. As a bare minimum I would certainly keep my Raspberry Pi and Sky Q box connected to the router using a wired network, so I have a couple of cheap ethernet cables.
Don’t buy into the hype and start spending tens of pounds on “super high speed” or “gold plated high fidelity Cat 8” cables. You don’t need them. Cheap and cheerful cat 5e or cat 6 ethernet cables are more than enough, even for most full home residential networks.
… and an interface
Because I was looking for a simple solution for a one-touch interface, I have also reused an old Android tablet that I had lying around. Actually it was a pretty lucky timing as I had wiped an old (and I mean 2016 old) Samsung Tab a6.
Of course, if you are changing the channel remotely then you might not need a touchscreen in the home, you might prefer just to access from your home computer web browser, using a secure remote access tool such as TailScale.

You would generally want to set up Home Assistant using a web browser interface, so although I am using a tablet within my SkyQ integration, if you are planning to use someone’s existing smartphone or even a laptop or PC – like I said you can use Home Assistant forever only from a web browser – you don’t specifically need it.
One of the big benefits I found by using an old Android tablet is that Home Assistant provides a reasonably good Companion app which is available on both the Google Play store and the Apple App Store. If the end-user of that device and app is someone who is not very adept at using apps, then you can further refine their experience by removing unnecessary menus and just proving a curated page of buttons of your design.
If you are looking to invest in a touchscreen interface; you really don’t need to spend much on it. Amazon always have a revolving range of refurbished Android tablets as well as iPads.

2 thoughts on “My Home Assistant Project – Equipment & Software”