For those who followed the earlier pages on this site, I came to Home Assistant out of necessity. I needed a customised Sky Q remote control for a family member with advancing dementia. That came with two immediate challenges: they had never used a smartphone, tablet or computer before, and I was living well over an hour’s drive away.
Setting up a personalised remote control was one thing, but I also needed a way to get into the system from home whenever something went wrong. So I started looking at what the most sensible, simple and cost-effective option would be. Home Assistant does pair with Nabu Casa, which offers both monthly and annual paid subscriptions, but I had to weigh up whether the cost was justified for this single use case. In this particular situation I decided it was not, though I should say that I do use Nabu Casa for my own home and I will come back to that later.
What I settled on was TailScale. It was the quickest and easiest solution I could find, requires very little technical knowledge to get going, and for personal accounts it is completely free. In simple terms, you install TailScale on your Home Assistant, install the TailScale app on the device you want to use for remote access, create a TailScale account and then add both installs to it. That really is the core of it.
Setting Up a TailScale Account
It is worth getting your TailScale account set up first, because when you install the apps on each device the workflow will (with one small exception I will cover shortly) let you log straight in and connect to your VPN network.
My recommendation is to head straight to TailScale’s own getting started article and follow the steps to create a tailnet. Personally, I used the Google account I have had since first getting into the Android ecosystem many years ago, as single sign-on just worked. I cannot vouch from personal experience for their assurance that you can move cleanly between personal and enterprise accounts if you hold your own domain, but it is something they do mention on the page.
For context, here is what I currently have on my tailnet: the Home Assistant I am maintaining remotely, my own Home Assistant at home, and a second Raspberry Pi that handles other connected home and automation tasks including JellyFin.
The TailScale Add-on
For this nearly zero-configuration remote access, I am using the Home Assistant community Tailscale add-on. You can access it directly from the add-on menu within Home Assistant, or find the same documentation on GitHub if you have not installed Home Assistant yet.
I would strongly recommend setting this up while you still have the Home Assistant physically with you, whether that is at your own home before you deploy it or while you are at the location where it will be installed. It is significantly simpler that way. The reason for this is a small but important one-time step that is much easier to deal with in person. On both Home Assistants I have deployed, Tailscale initially failed to connect to the tailnet and needed a manual nudge to get going.
If your login fails in the same way, here is the one-time workaround:
- Go to Settings > Add-ons > Tailscale and select the Log tab at the top of the screen.
- Alternatively, go directly to [Home Assistant IP]:8123/hassio/addon/a0d7b954_tailscale/logs
- Look through the log for a line beginning AuthURL is https://login.tailscale.com/[your unique login link]
- Copy that URL and paste it into a new browser tab
This will take you through the login process to connect your Home Assistant to your tailnet. Once that is done, you also need to stop the connection from expiring in the future:
- Go to your Tailscale account dashboard
- Find the Home Assistant machine in the device list
- Click the three dots to open the menu
- Select Disable Key Expiry
Disabling key expiry is not ideal if you have sensitive information on your Home Assistant. However, if you are reading this guide, the chances are you are just starting out with fairly simple tasks such as the Sky Q remote control or experimenting with something like a chore list, in which case the trade-off is very reasonable.
Remote Access on Your Devices
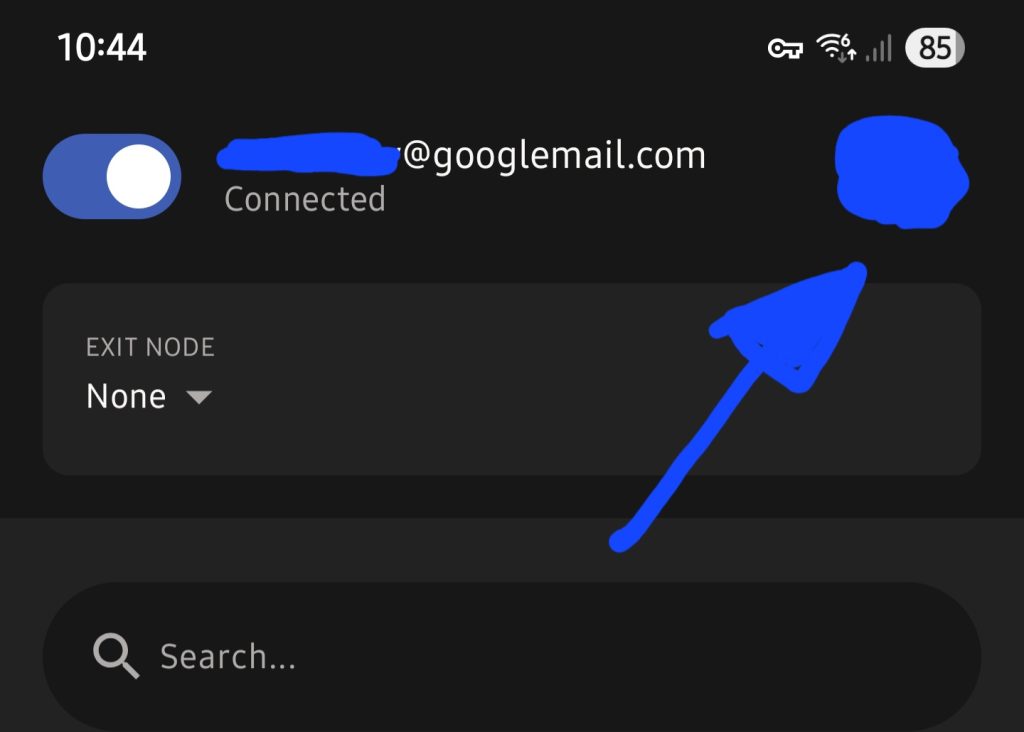
Now that Tailscale is running on the Home Assistant, you need to install it on whichever devices you plan to use for remote access. Head to the dedicated download page for Windows, Android, iPad and others. Each app lets you see which devices in your tailnet are active and available. Every device is assigned a fixed unique IP address by Tailscale that never changes, so as long as the app is connected you can copy that IP address, paste it into your web browser and you are in.
Do remember to add the Home Assistant port number (:8123) to the end of the address, just as you would when accessing it locally.
If everything is working correctly, you will arrive at the Home Assistant login screen, or straight to your dashboards if you have already logged in before.
A Word of Caution for Android Users
This is something that genuinely frustrates me about the Android Tailscale app, and judging by the TailScale feature request forum, I am not alone in that. By default, the Android app routes all traffic through Tailscale unless you manually exclude apps from it. And I do mean all of it.
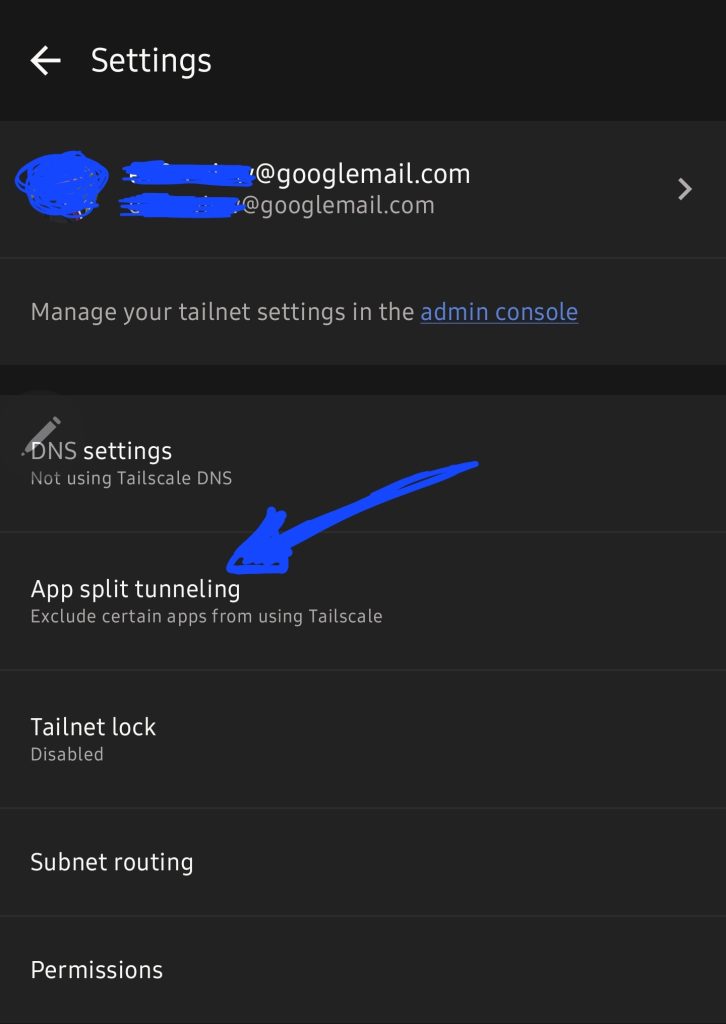
I went through the process of blocking well over 100 apps, sub-apps and system processes because I have Tailscale permanently enabled on my phone to access my own Home Assistant. If you are planning to leave it running permanently on an Android device, I would recommend doing the same through these menus:
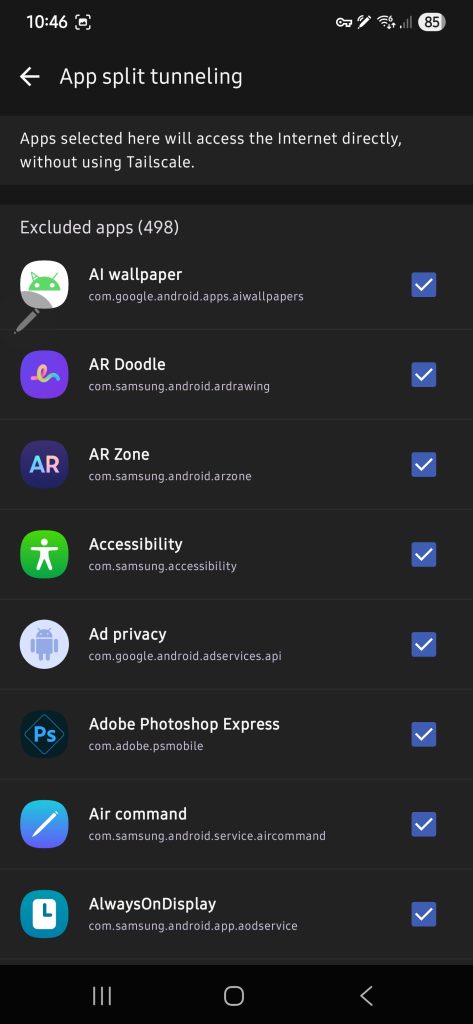
As you can see from the screenshots, the app wants access to everything.
If you are only using Tailscale to manage a loved one’s Sky Q remote control, the simplest approach is to just turn the app on when you need access and turn it off again afterwards. You are unlikely to be logging in every hour of the day, and if you find that you are, then that is probably a sign that an automation would do the job better!
Nabu Casa
I have since moved my own Home Assistant over from Tailscale to Nabu Casa‘s Home Assistant Cloud, which is a paid remote access subscription.
The reasons came down to practicality. As we expand our home setup, I want it to be straightforward for the rest of my family to access things remotely without me having to go through and blacklist every app on every device they own, and then repeat the process each time someone installs a new game. The £65 a year also directly supports the Nabu Casa team, who put significant time and resource into developing Home Assistant itself, plus you get cloud-based remote backups of your Home Assistant configuration, which I can tell you from experience have already been worth it more than once.
Setting it up is genuinely simple. From your Home Assistant dashboard, go to Settings, then Home Assistant Cloud, and follow the steps to start the free trial.
I want to be clear about how the trial works, because some services are not exactly upfront about this. You create your account, choose to start the free trial, and you are given a unique URL to access your Home Assistant remotely straight away. There is no “no payment needed” banner followed by a hidden card details form. You genuinely do not need to add a payment method until you decide you want to continue.
One honest observation though: I do not consider Nabu Casa to be quite as secure as Tailscale in terms of access control. With Nabu Casa, anyone who knows your Home Assistant URL can reach the login screen. With Tailscale, you need the app installed and to be actively logged in, which adds a meaningful extra layer, something close to two-factor authentication by design. For my own family setup though, where people are accessing from their phones rather than from every tablet and computer in the house, the convenience of Nabu Casa makes much more sense.
For transparency: there are no affiliate links in this article and I have no connection to Nabu Casa beyond being a paying customer.
1 thought on “Remote into your Home Assistant”